


Okay, so I’ve always wanted a boxing bag at home, but those things can be pretty pricey. Then it hit me – why not just make one myself? I did some digging around the internet and found that it’s totally doable. So, I decided to give it a shot and document the whole process. Here’s how it went down.
Gathering Supplies
First things first, I needed to gather all the materials. I already had an old, sturdy duffel bag lying around, which was perfect. If you don’t have one, maybe hit up a thrift store or ask around. You’ll also need some strong chains or straps to hang the bag. I found some old chains in my garage that would work just fine. For the filling, I used old clothes, rags, and some sandbags. I figured this would give the bag a good weight and feel. Basically, anything heavy and softish will do.
Prepping the Bag
I started by emptying out the duffel bag and giving it a good cleaning. You don’t want any surprises while you’re punching away, right? Then, I started layering the filling. I put a few sandbags at the bottom to give it a solid base. On top of that, I stuffed in old clothes and rags, making sure to pack them in tightly. It’s a bit of a workout in itself, honestly. You gotta make sure it’s packed really well so it doesn’t just sag in the middle.
Assembling the Filling
The key here is to alternate between the soft stuff and the heavier stuff. I kept adding layers of clothes and rags, and every now and then, I’d throw in a sandbag. This helps distribute the weight evenly. I made sure to stuff it really full. It’s kinda like making a giant, heavy burrito. It took a while, but eventually, the bag was packed solid.
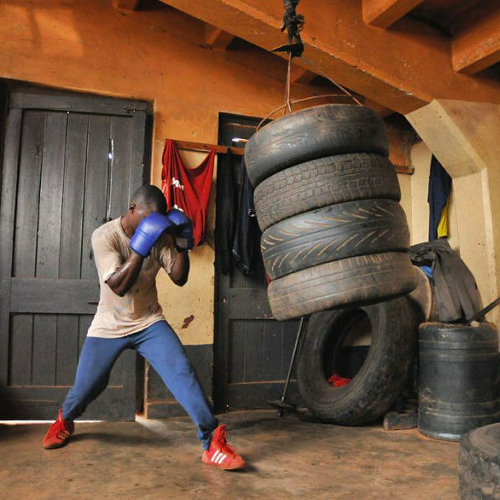
Attaching the Hanging System
Now for the hanging part. I attached the chains to the top of the bag. This was a bit tricky, but I managed to secure them pretty well using some heavy-duty zip ties and duct tape. It’s super important to make sure this part is secure because the last thing you want is the bag falling while you’re using it. Once the chains were on, I hung the bag from a sturdy beam in my garage. If you don’t have a beam, you might need to get creative, maybe a strong tree branch if you’re hanging it outside, make sure it can handle the weight and all that moving around.
Testing It Out
With the bag finally hanging, it was time for the moment of truth. I threw a few punches, and it felt great! It’s surprisingly solid and can definitely take a beating. I did a few rounds, and it held up really well. It’s not perfect, but for a homemade boxing bag, it’s pretty darn good. I was sweating like crazy after ten minutes, so yeah, good workout.
Final Thoughts
Making my own boxing bag was a fun and rewarding project. It’s a cheap way to get a decent piece of workout equipment. Plus, I got to use up some old stuff I had lying around. If you’re thinking about doing this, I’d say go for it! Just make sure you pack it tight and secure the hanging system really well. Happy punching!
Materials I Used:
- Old duffel bag
- Strong chains
- Heavy-duty zip ties
- Duct tape
- Old clothes and rags
- Sandbags
It wasn’t too hard, and it saved me a bunch of money. Plus, I got a pretty decent workout just putting it together. Give it a try if you’re looking for a fun little DIY project, and you need to punch something!


