


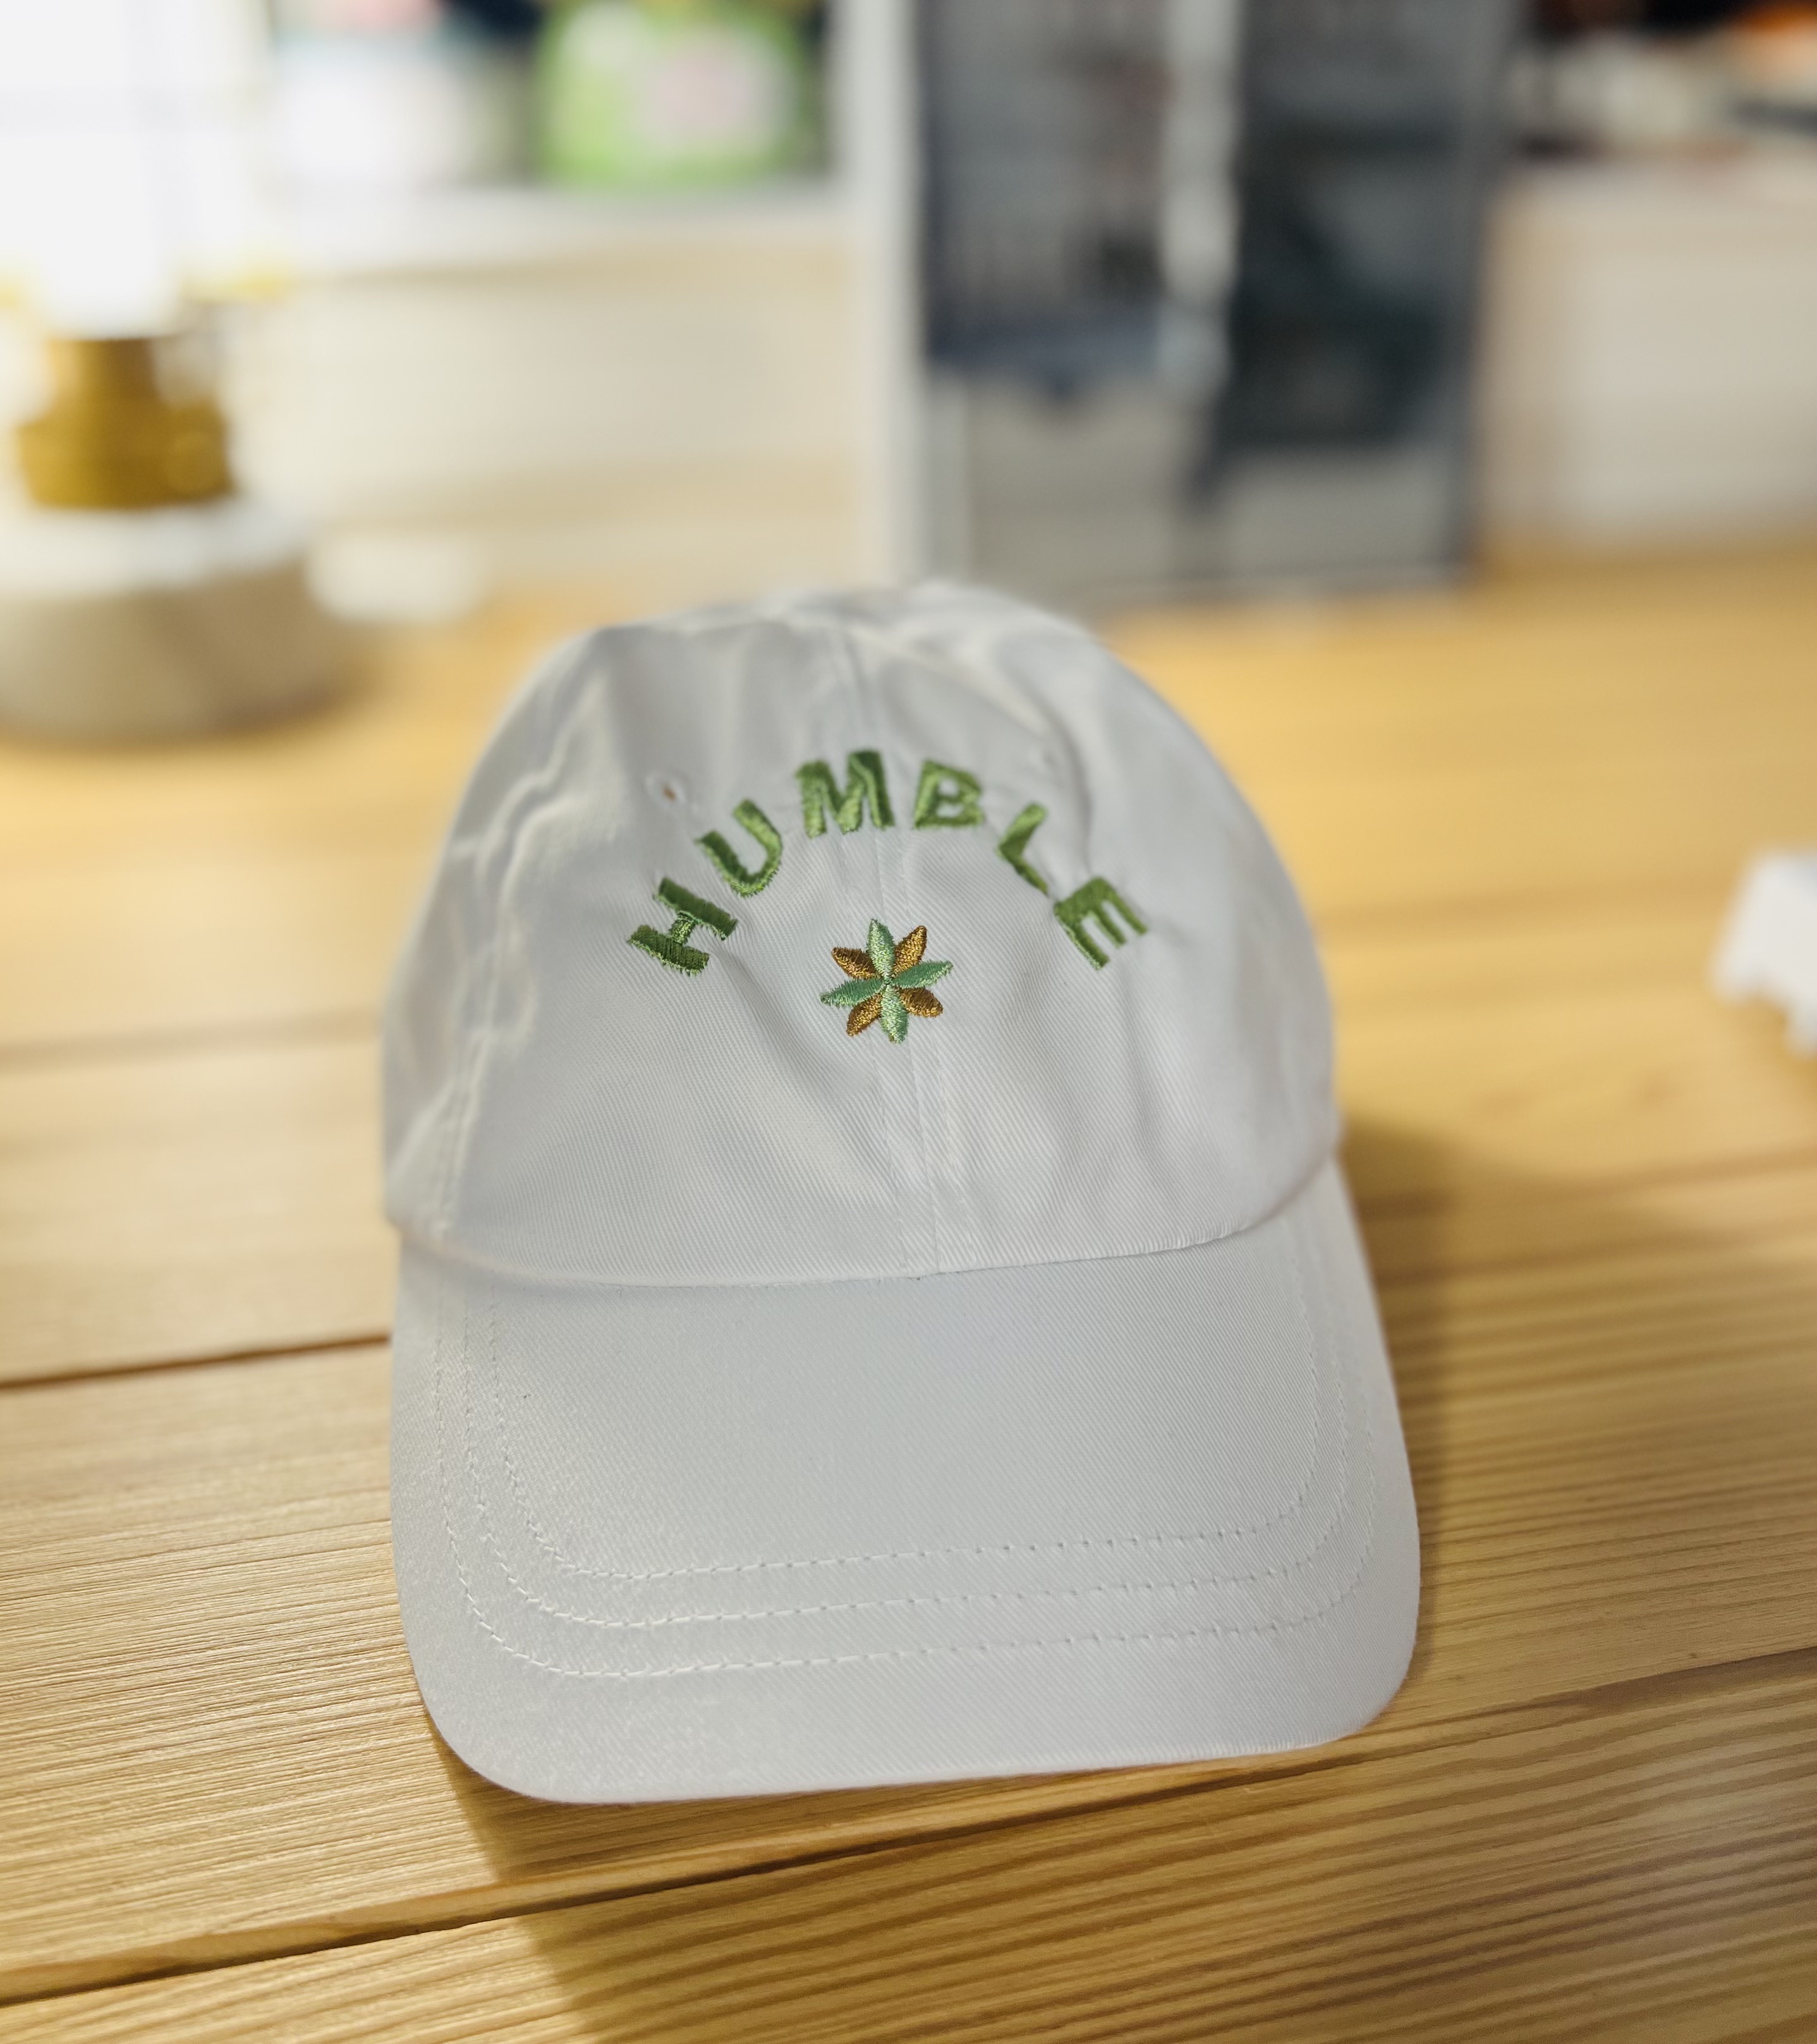
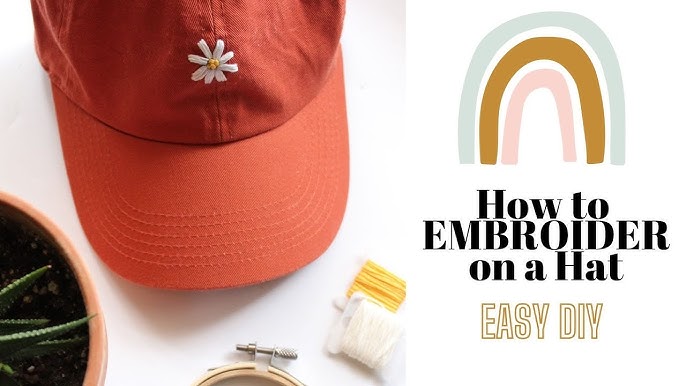
Howdy folks, let’s gab about somethin’ I reckon you might find kinda neat – puttin’ fancy stitchin’ on them baseball caps. You know, the kind them young’uns wear all the time. I ain’t no fancy teacher or nothin’, but I done sewed a heap of stuff in my day, so I figger I can tell ya how to do it.
First off, whatcha gonna need? Well, a baseball cap, that’s for sure! Duh! Get yourself one of them plain ones, unless you wanna sew over somethin’ that’s already there, which is a pain in the neck, lemme tell ya. Then ya need some thread – the colorful stuff – and a needle. Not just any needle, mind you. Get a sturdy one, one that ain’t gonna bend on ya like a wet noodle. Them embroidery needles, they call ’em, I think. And you gonna need somethin’ to hold that cap steady, like a hoop or somethin’. I just use my lap, but you might be fancier than me. And don’t forget them scissors! Gotta snip that thread, dontcha?
- Baseball Cap (a plain one is best)
- Embroidery Thread (lots of pretty colors!)
- Sturdy Embroidery Needle
- Embroidery Hoop (or your lap, if you’re like me)
- Scissors (sharp ones!)
Now, how ya gonna do it? First, ya gotta figger out what you wanna sew on that cap. A flower? A name? A fancy swirl? Don’t go gettin’ too ambitious at first, start with somethin’ simple. Once you got your design in mind, you gotta get it on the cap somehow. Some folks use that fancy paper stuff that melts away, but I just draw it on with a pencil. Lightly, though, you don’t wanna see them pencil marks later.
Then you gotta get that cap in the hoop, or on your lap, nice and tight. Thread your needle, tie a knot at the end, and start sewin’! Now, there’s a bunch of different stitches you can use. Back stitch is a good one for lines, just in and out, in and out, like a little train goin’ down the tracks. Satin stitch is good for fillin’ in shapes, just side by side stitches, real close together. And there’s a French knot, if you wanna make little bumpy dots. That one’s a bit tricky, but you’ll get the hang of it.
Keep your stitches even and neat, as best you can. Don’t worry if it ain’t perfect, nobody’s perfect, ‘cept maybe that preacher down the road, and I got my doubts about him too. Just keep at it, and before you know it, you’ll have a purdy picture on that cap.
When you’re done sewin’, you gotta tie off that thread good and tight, so it don’t come undone. Snip it close, and you’re all done! See? Wasn’t so hard, was it? Now you got yourself a fancy cap, somethin’ nobody else got. You can show it off to your friends, or give it as a gift, or just wear it yourself and feel all proud.
Some extra tips from an old gal who knows a thing or two:
- Start with simple designs and work your way up to more complicated ones. Don’t go tryin’ to sew the whole farm on there the first time.
- Use good quality thread, the cheap stuff will just break on ya and make ya cuss.
- Take your time, don’t rush it. Embroidery ain’t a race, it’s somethin’ to be enjoyed. Like eatin’ a good piece of pie.
- Practice makes perfect. The more you sew, the better you’ll get. Even this old lady still messes up sometimes.
- If you get stuck, don’t be afraid to ask for help. There’s plenty of folks out there who know how to sew, maybe even that fancy neighbor lady down the street.
- Don’t forget to have fun! That’s the most important thing. If it ain’t fun, why bother? You could be eatin’ pie instead.
So there you have it, folks. That’s how you go about puttin’ fancy stitchin’ on them baseball caps. It ain’t rocket science, I tell ya. Just takes a little patience, a little practice, and a whole lotta heart. Now go on and get to sewin’!
And remember, if you mess up, who cares? It’s just a hat! You can always start over or just wear it with pride anyway. Like I always say, it ain’t perfect, but it’s made with love. And that’s all that really matters, ain’t it? Now, if you’ll excuse me, I got a hankerin’ for some sweet tea and that pie I was talkin’ about.


