


Okay, so I wanted to get some fresh rosters for NBA 2K23, and I gotta say, it wasn’t as straightforward as I thought it’d be. But I figured it out, so here’s how I did it, step by step.
Find a Good Roster Mod
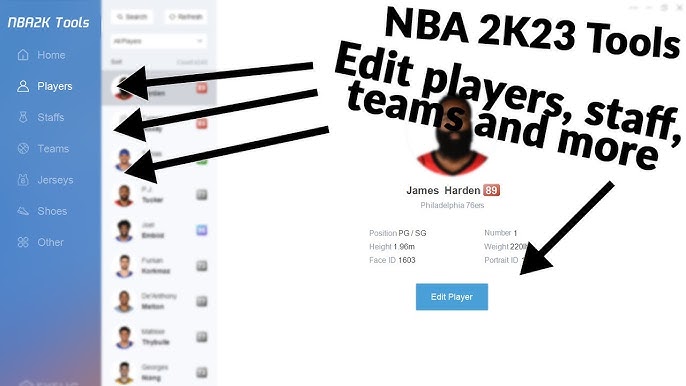
First things first, I needed to find a roster mod. I just googled around, you know, “NBA 2K23 roster mods,” and looked at some forums and fan sites. There are a bunch of places that host these things, so I just picked one that looked legit and had some good comments.
Download the Files
Once I found a roster I liked, I downloaded the files. Usually, they come in a zipped folder, so I made sure I had something like WinRAR or 7-Zip to open it up. I just clicked the download link, waited for it to finish, and that was that.
Unzip Everything
Next, I unzipped the files. I just right-clicked on the zipped folder and chose “Extract Here” to keep things simple. This gave me a new folder with all the roster files inside.
Figure Out Where to Put the Files
This was the tricky part. I had to find the NBA 2K23 save folder on my computer. It took some digging, but finally, I fould it.
Copy the Files Over
Once I had the save folder open, I just copied the roster files from the unzipped folder and pasted them into the 2K23 save folder. I made sure I didn’t mess with any other files in there, just dropped the new ones in.
Fire Up the Game
After that, I started up NBA 2K23. I went to the roster menu, and it will show there, I loaded it up.
Check If It Worked
I picked a random team to make sure all the player ratings and stuff matched what the mod said it should be.
And that’s it! It took a bit of trial and error, but I got those updated rosters working. Now I can enjoy the game with all the latest player moves and ratings. Pretty sweet!


