


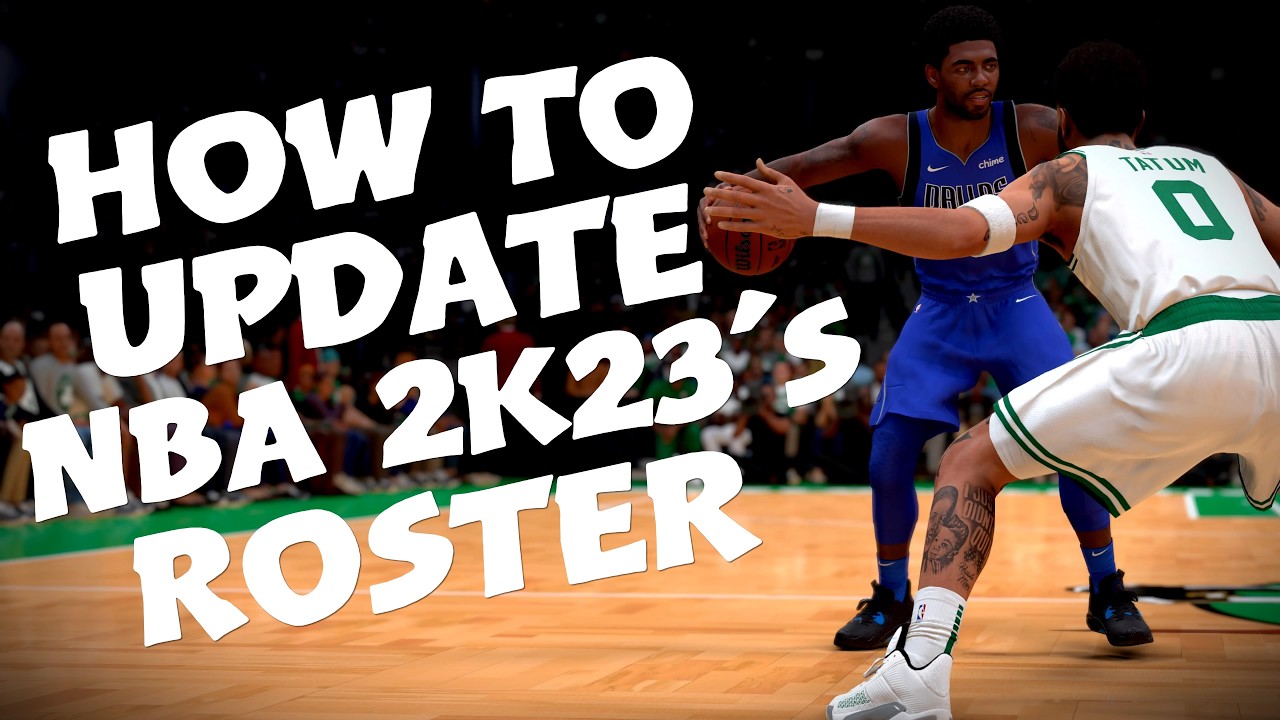
Okay, so, I wanted to get the latest roster for NBA 2K23 on my PS4. You know, keep things up-to-date with the current season, all the trades, injuries, the whole shebang. It wasn’t as straightforward as I thought it would be, but I figured it out, so I’m gonna share how I did it.
First, I turned on my PS4 and fired up NBA 2K23. I went straight to the “Play Now” option on the main screen. Then, I chose “NBA Today”. I saw the screen with the current real-life NBA schedule.

Next, I navigated to “Features”, that’s where all the roster stuff is hidden. I scrolled down a bit and found the “Create Roster” option and clicked on it. This is the place where you can download, edit, and customize team rosters.
In the “Create Roster” menu, I saw a bunch of options, like “Official 2K Sports Roster”. I just needed to make sure I selected the right type of roster. You’ll usually find the most recent official roster here.
- Official 2K Sports Roster: This is the one that gets updated by the game developers. It usually reflects the real-life changes in the NBA.
Once I found the roster I wanted, I just selected it and started the download process. It took a few minutes, nothing too crazy. Just gotta be patient, you know?
After the download was finished, I backed out to the “Create Roster” menu. The newly downloaded roster showed up there, all shiny and new. Then, I chose it as the active roster in the settings.
Finally, I went back to “Play Now” to test it out. I picked a couple of teams and checked their lineups. And boom, there it was, the updated roster with all the latest players and their ratings. It felt good to see everything in its right place.
So, yeah, that’s how I updated the roster on NBA 2K23 for my PS4. It’s not rocket science, but it can be a bit tricky if you don’t know where to look. Hopefully, this little walkthrough helps some of you guys out there keep your game up-to-date!


